Apprentice Makeover
A New Firewall and Power System for E-flite's Apprentice
The E-flite Apprentice has just the right flying characteristics for a wannabe pilot who is learning the basics of RC flying. During my RC training, I have found that the stock motor is not all that robust—I have replaced two of them. The flimsy firewall is another weak point, including the nose-wheel mounting and steering arm. After my Apprentice received a major "owie" as a result of a rough landing, during which the engine and firewall were torn from the fuselage, I decided an Apprentice makeover was in order (I won't say who was flying the plane at the time). I should note that, as the old saw goes, "In the hands of an experienced pilot...," the Apprentice should last forever; however, newbies can find untold ways make life tough on their aircraft.
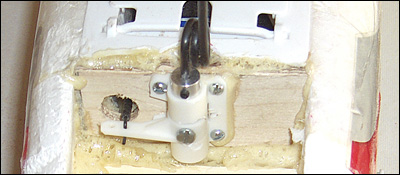
I began the Apprentice makeover by cutting out a new plate for the nylon nose gear bearing (SIGSH115). I used 3/16" birch plywood for this. Before gluing the mounting plate to the fuselage, I installed the bearing to the plate using the included screws and blind nuts. I then glued the assembly to the fuselage with Gorilla Glue. This was my first experience using Gorilla Glue and I found its gap-filling property made it perfect for foam. Also, a hot knife made glue removal easy when the glue expanded where it was not wanted: the hot knife cuts through the glue like butter after it has dried. Note that I cut a gap into one side of the bearing to provide additional travel for the nylon steering arm (SIGSH101).
Nose-Wheel Assembly
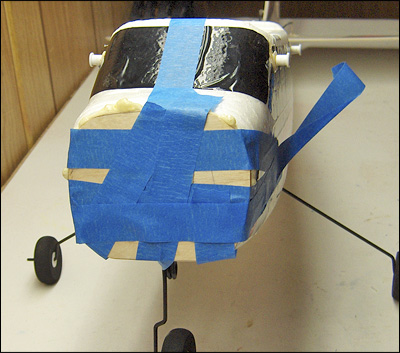
Next, I cut a new firewall out of 3/32" birch plywood. Being what I call a barn-yard carpenter, I used an old fashioned coping saw for this. I glued this to the foam with Gorilla Glue. I used lots of blue tape to hold the new firewall in place while the glue dried. After the glue cured, I constructed the engine mount.
Installing the New Firewall
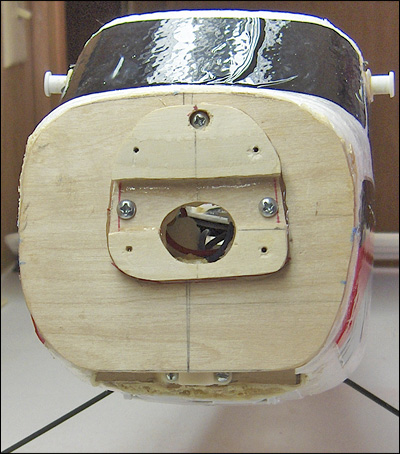
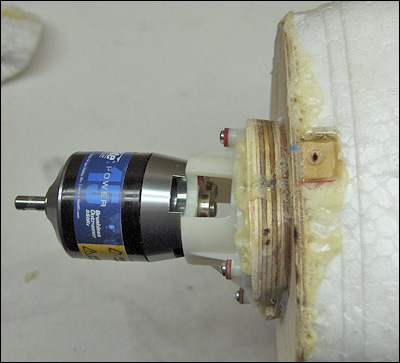
Actually, the engine mount for the new Power 15 motor consists of two parts. The new motor fit the standard plastic apprentice motor mount perfectly and the mount provides the correct amount of right thrust. I had to construct the firewall portion of the motor mount to provide the correct amount of down thrust. This has to be positioned carefully. Note that it is offset to the left side of the fuselage (your right while looking at the image) so that the motor will be correctly positioned within the cowl. I used three screws to secure the wooden motor mount in addition to gorilla glue: the screws insured that the mount position would not change during the gluing process. I determined the down thrust from measurements taken off the original firewall.
Firewall Motor Mount
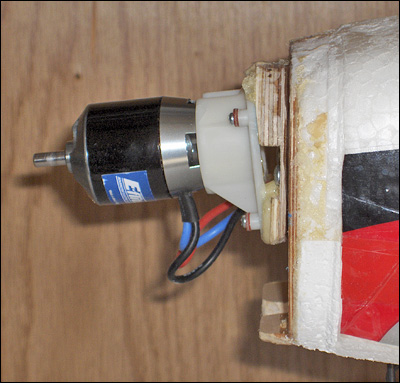
Final construction included new hard points for the cowl screws, replacing some foam behind the new firewall, and repairing two large cracks in the cowl with a bit of fiberglass.
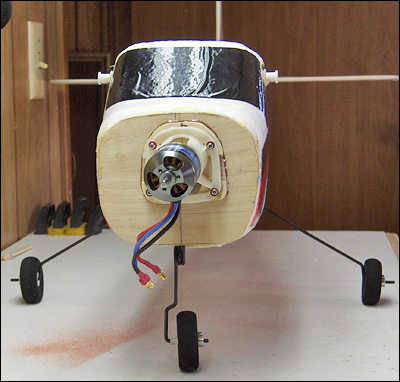
Motor Installation: Front View
Motor Installation: Top View
Motor Installation: Side View
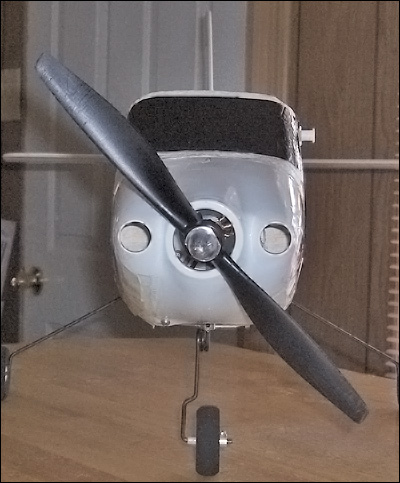
A test run of the new power system blew paper and other loose items quite nicely off of my workbench. After a balance check, I added 1 oz of weight to the end of the fuselage. Now, my Apprentice may look a bit rough on the outside—but "under the hood," it's better than new--and it flys better than ever, too.
Ready to Fly
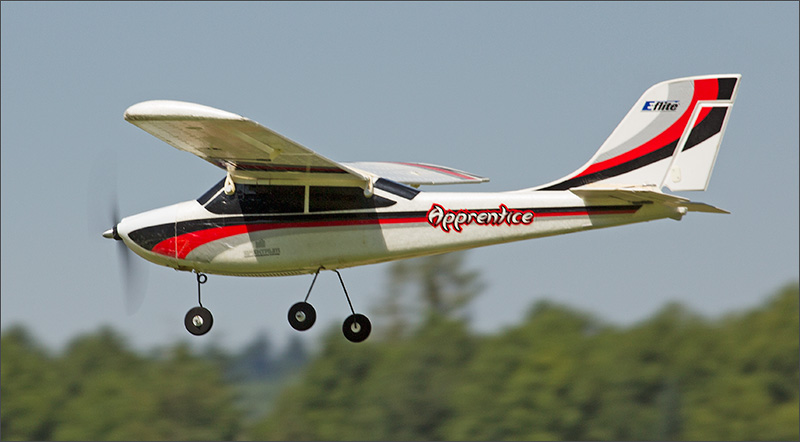
Rebuilt Apprentice in the Air
Power system (all E-flite):
* Power 15 Brushless Outrunner Motor, 950Kv,
* 40-Amp Lite Pro Switch-Mode BEC Brushless ESC,
* 3200mAh 3S 11.1V 30C LiPo, 12AWG EC3, and
* 11 x 8 Electric Prop: Apprentice 15e.
I hope you enjoyed this article,

Royce Tivel


© Copyright 2008-2012 by Royce Tivel. All Rights Reserved.